Products are useful when you have cost items that show up often on invoices. Saving them as a product will make it easy to add costs without having to re-enter the details.
Creating a Product
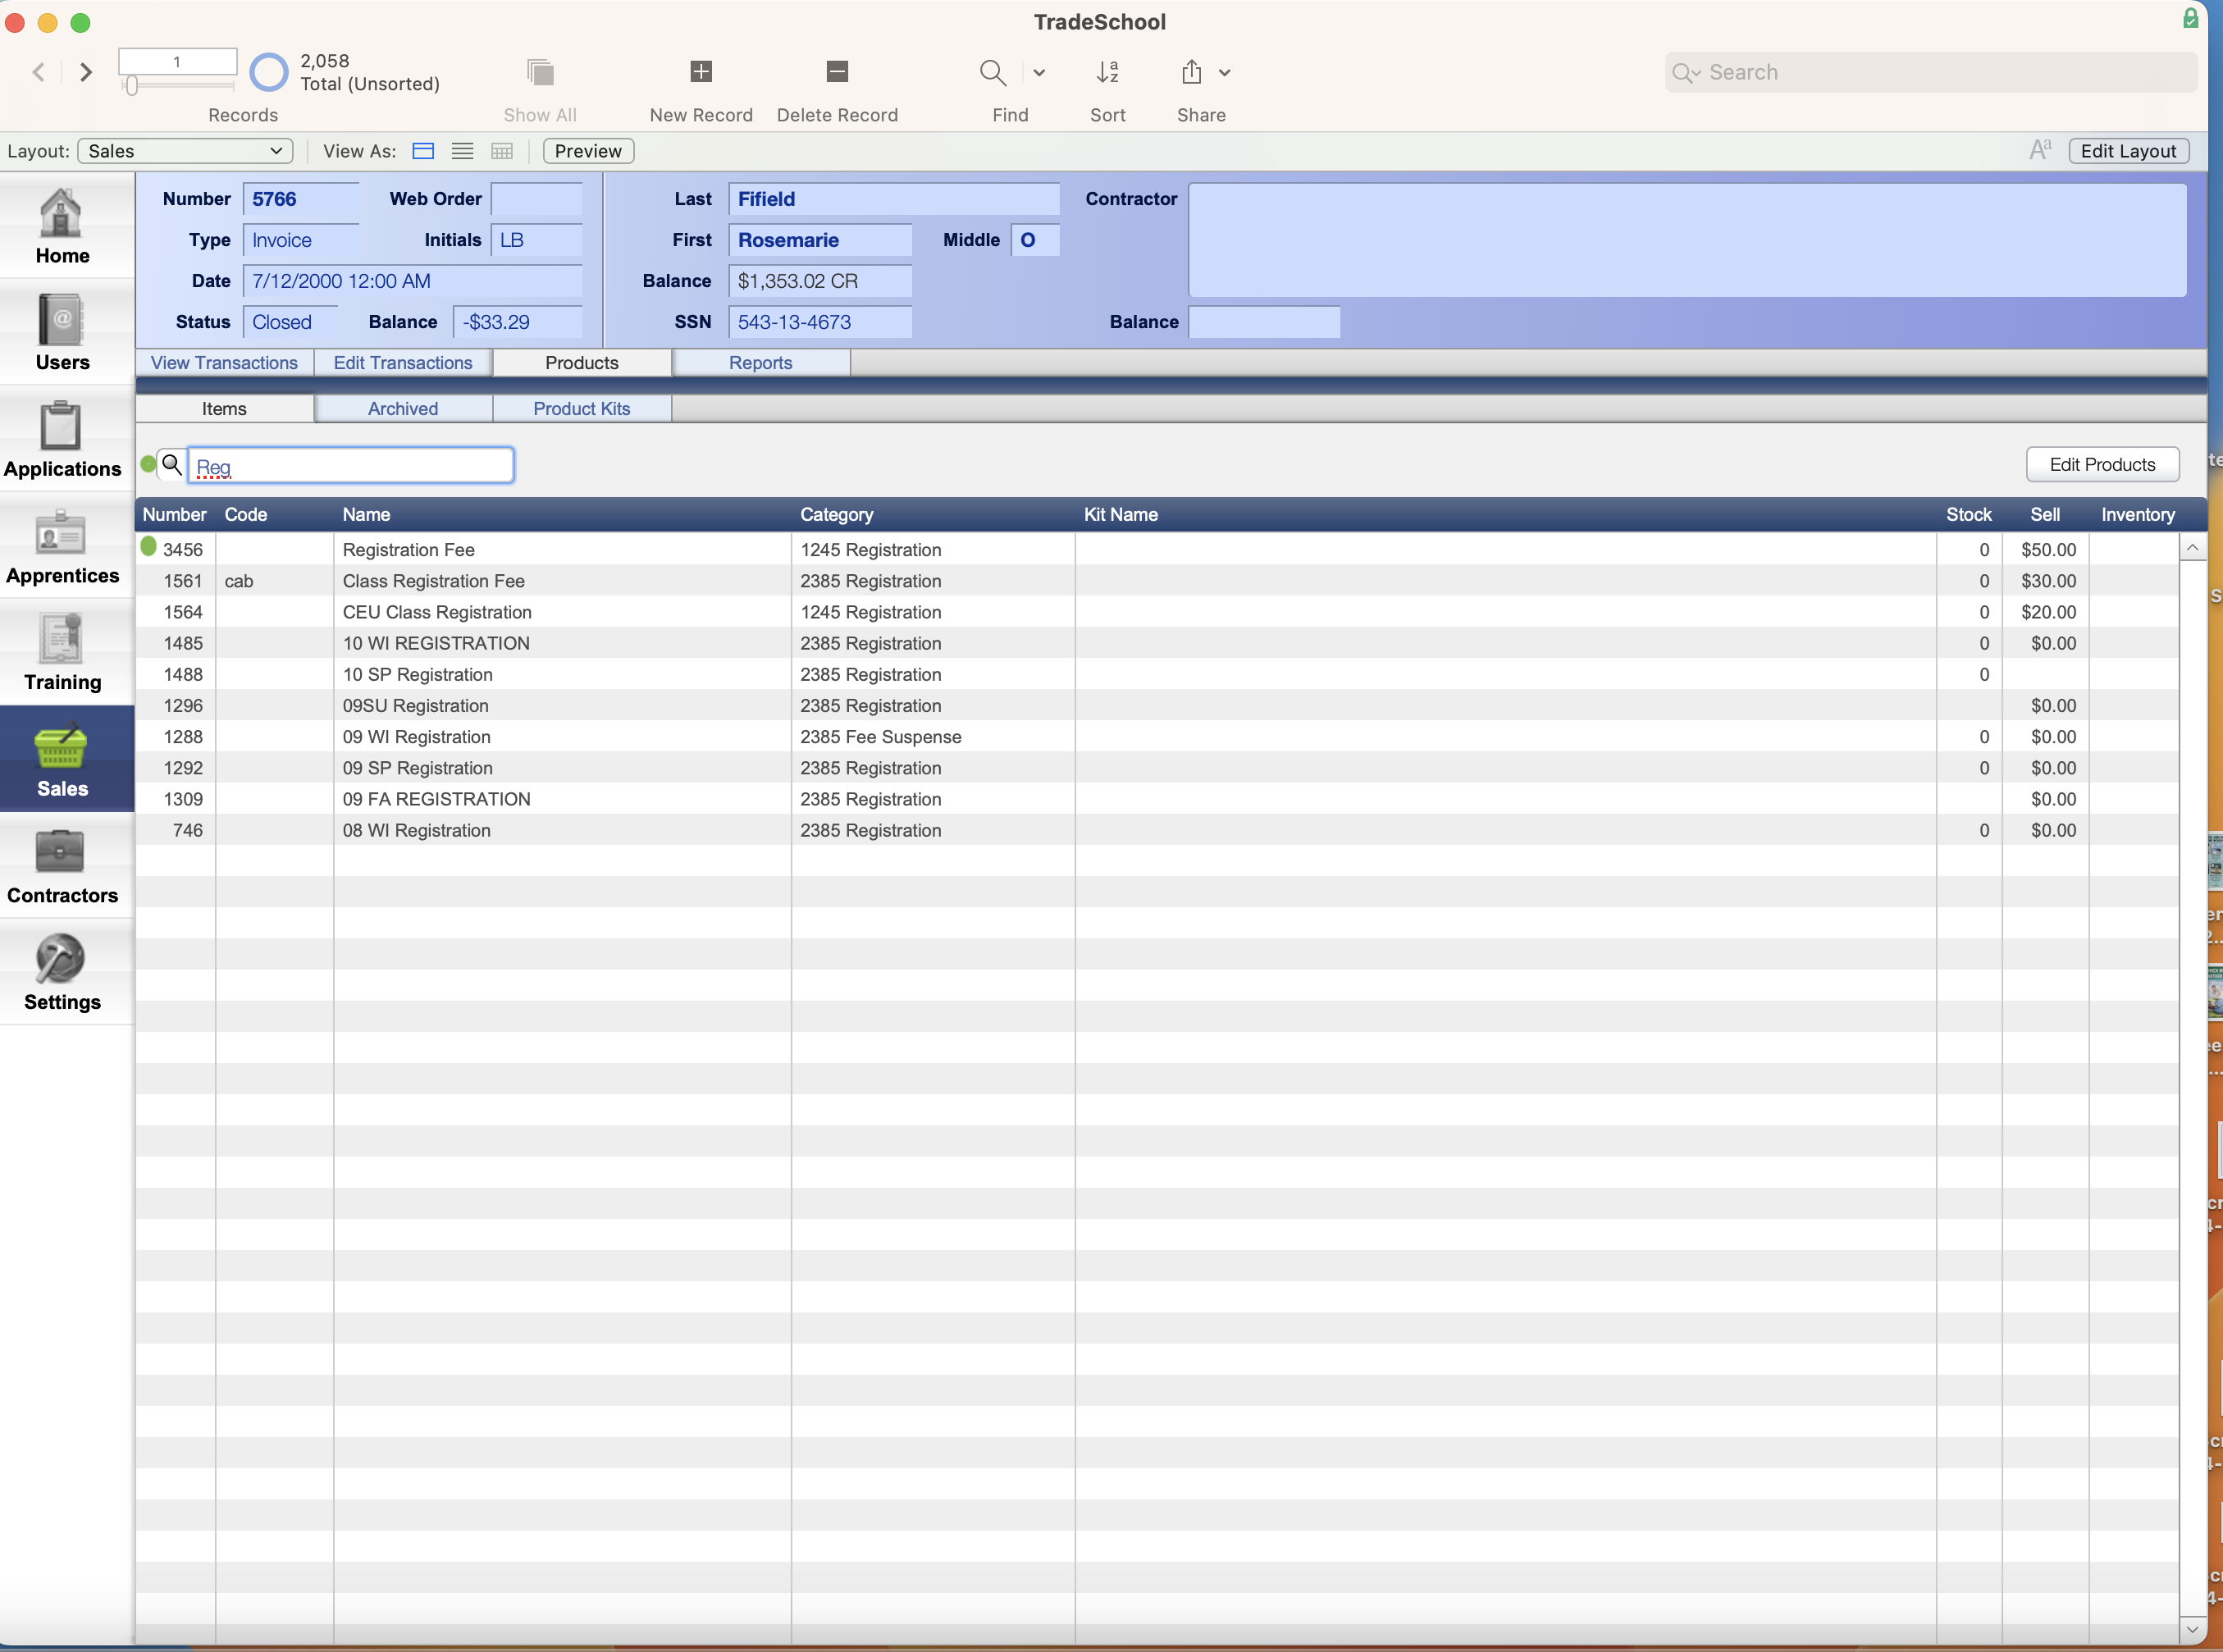
To start, click on the Sales Module. Next, go to the Products > Items tab.
Here, you can search for the item that you are looking for, or if it is not there, you can create a new cost item.
To search, click into the 🔎 search bar.
To create a new product, choose the "Edit Products" button on the far right side.
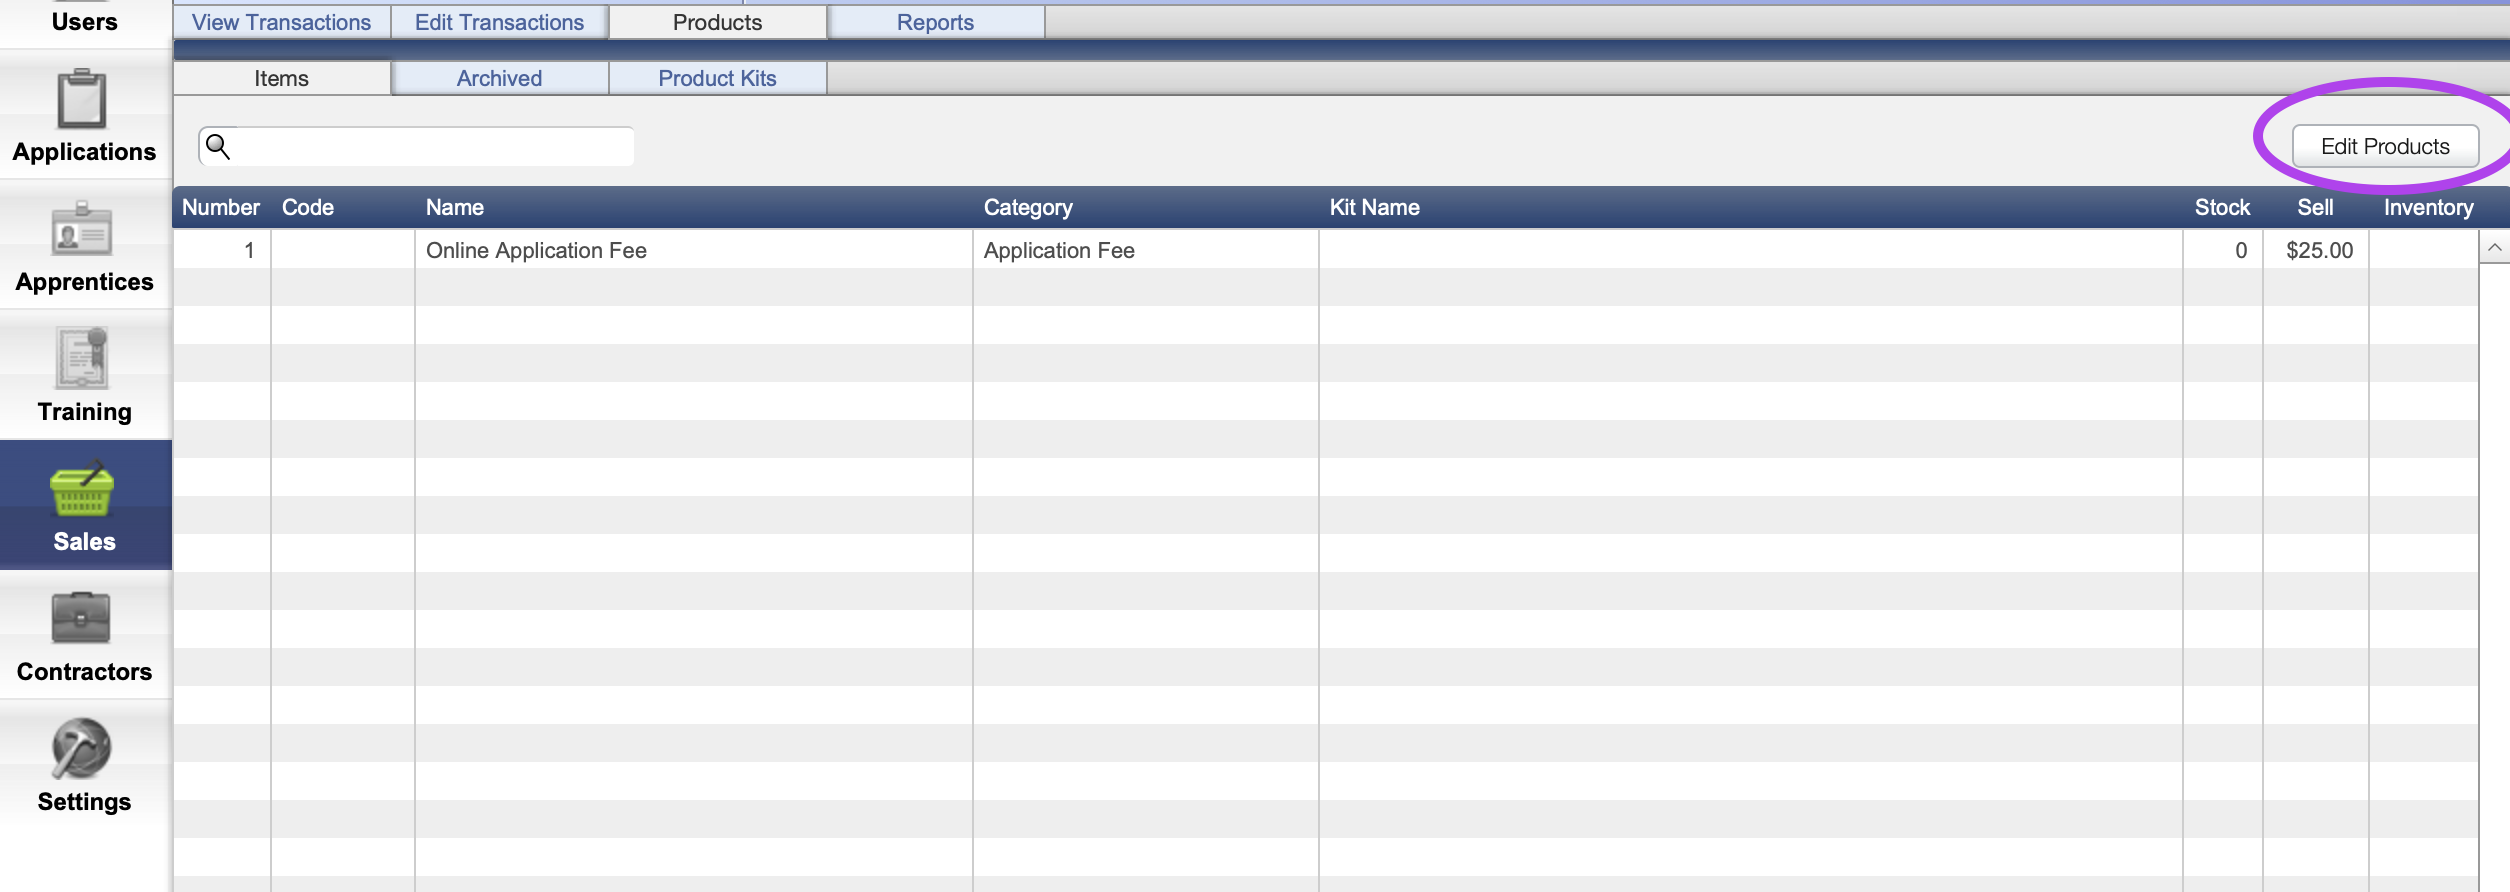
A window will appear:
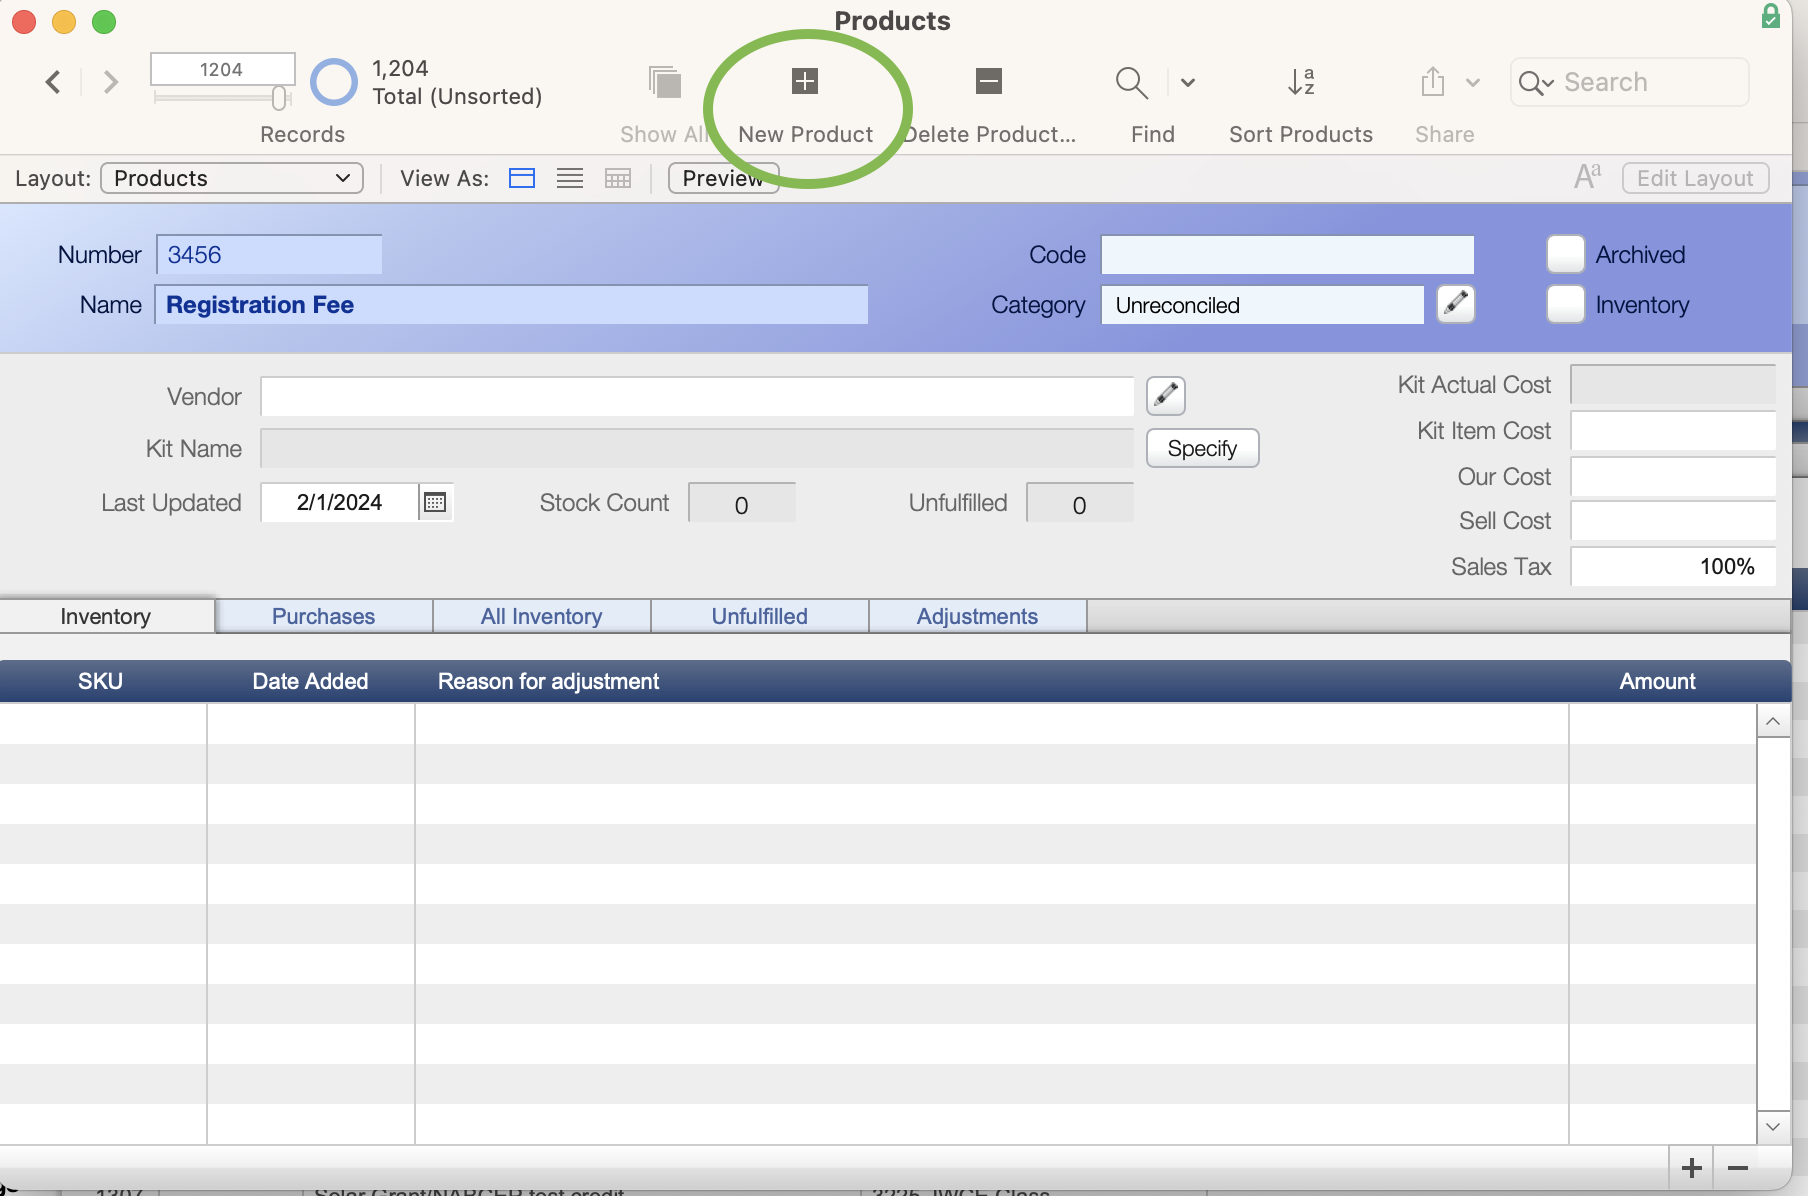
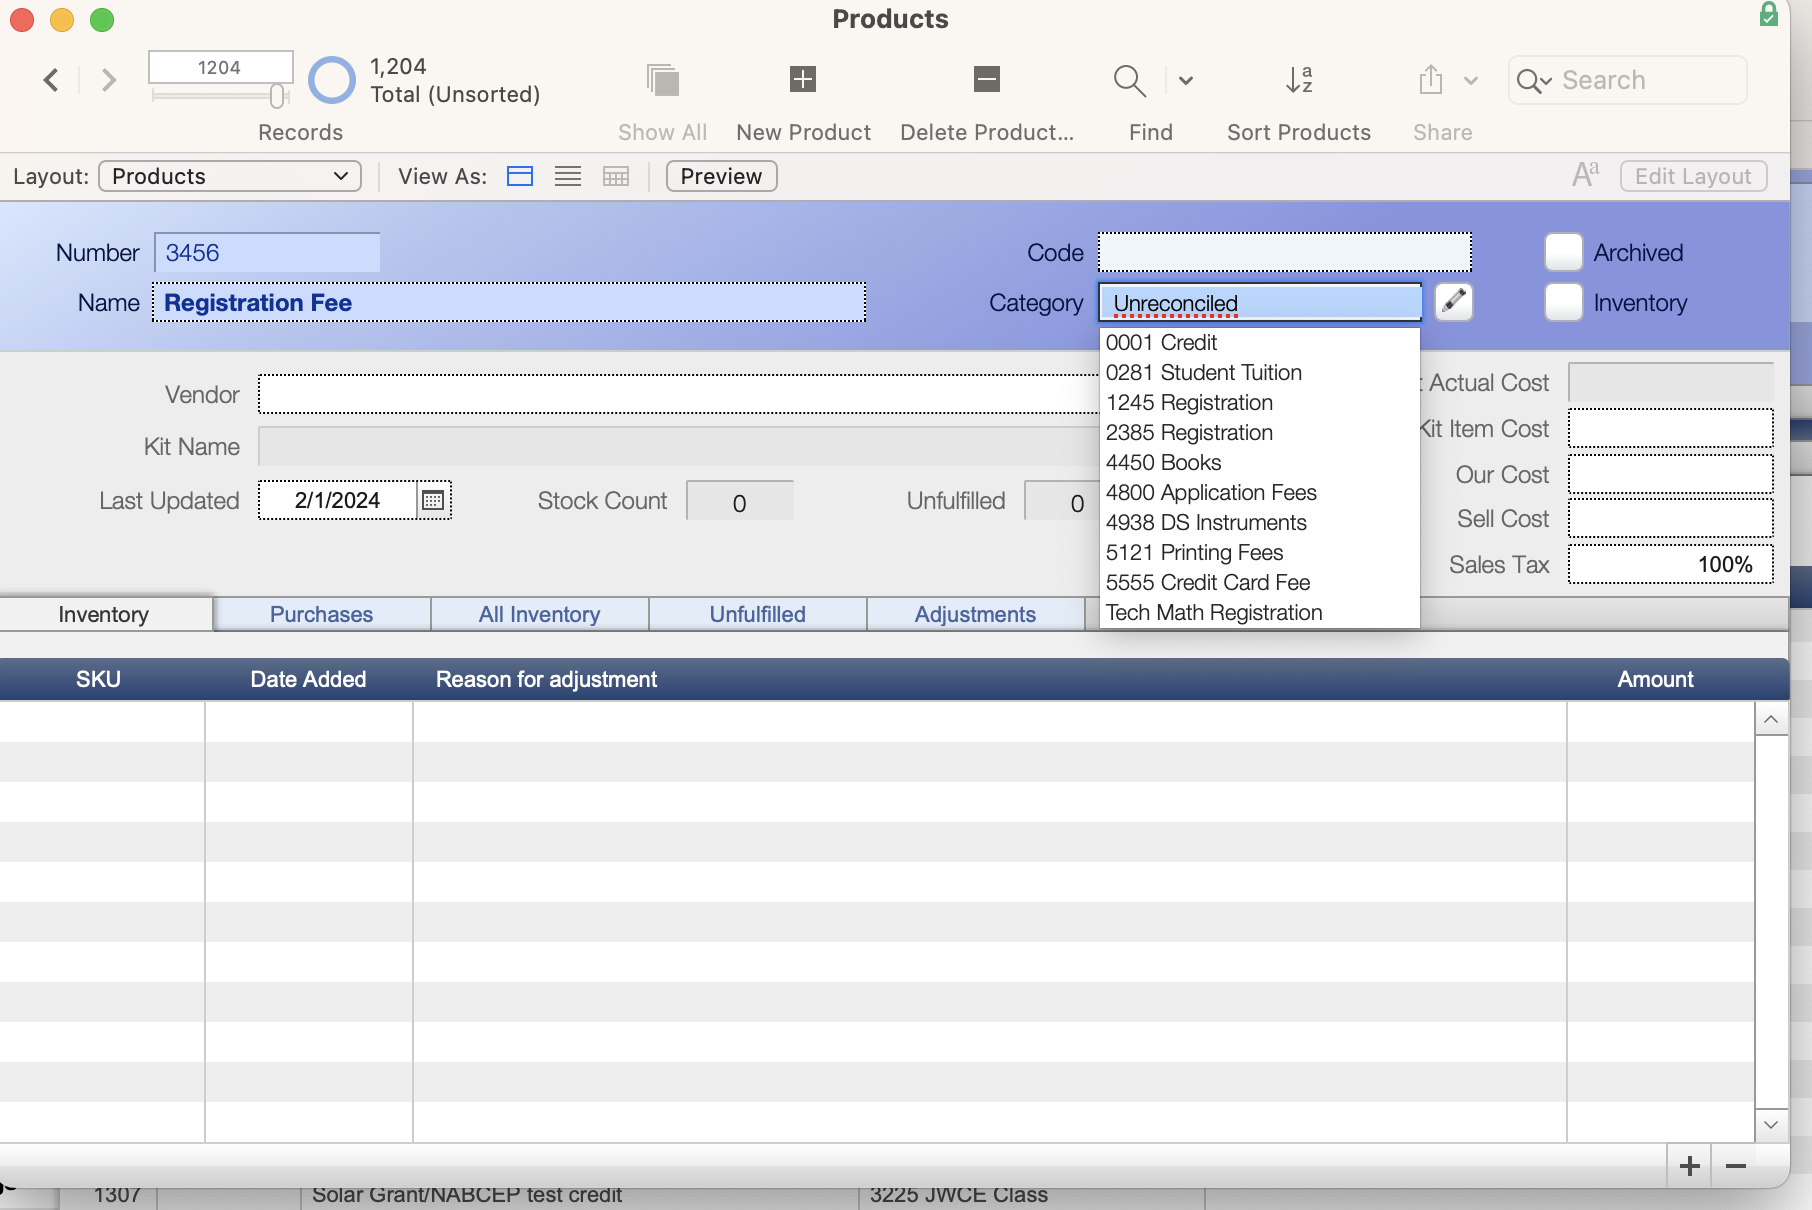
Choose the + New Product. The window will appear blank; you can type in the product name. For this example, "Registration Fee" was used. You could charge for a book, a specific class, an application fee, etc.
You can choose a category for this cost to be associated with. To add categories to choose from, click the 🖊️ Here, you can add a Book Fee, a Class Fee, an Application Fee, etc. It is customizable. Click the category text field for a drop-down menu to appear. If you have yet to create any categories, none will appear.
For those who use Quickbooks you can put the code number in the category as pictured below.
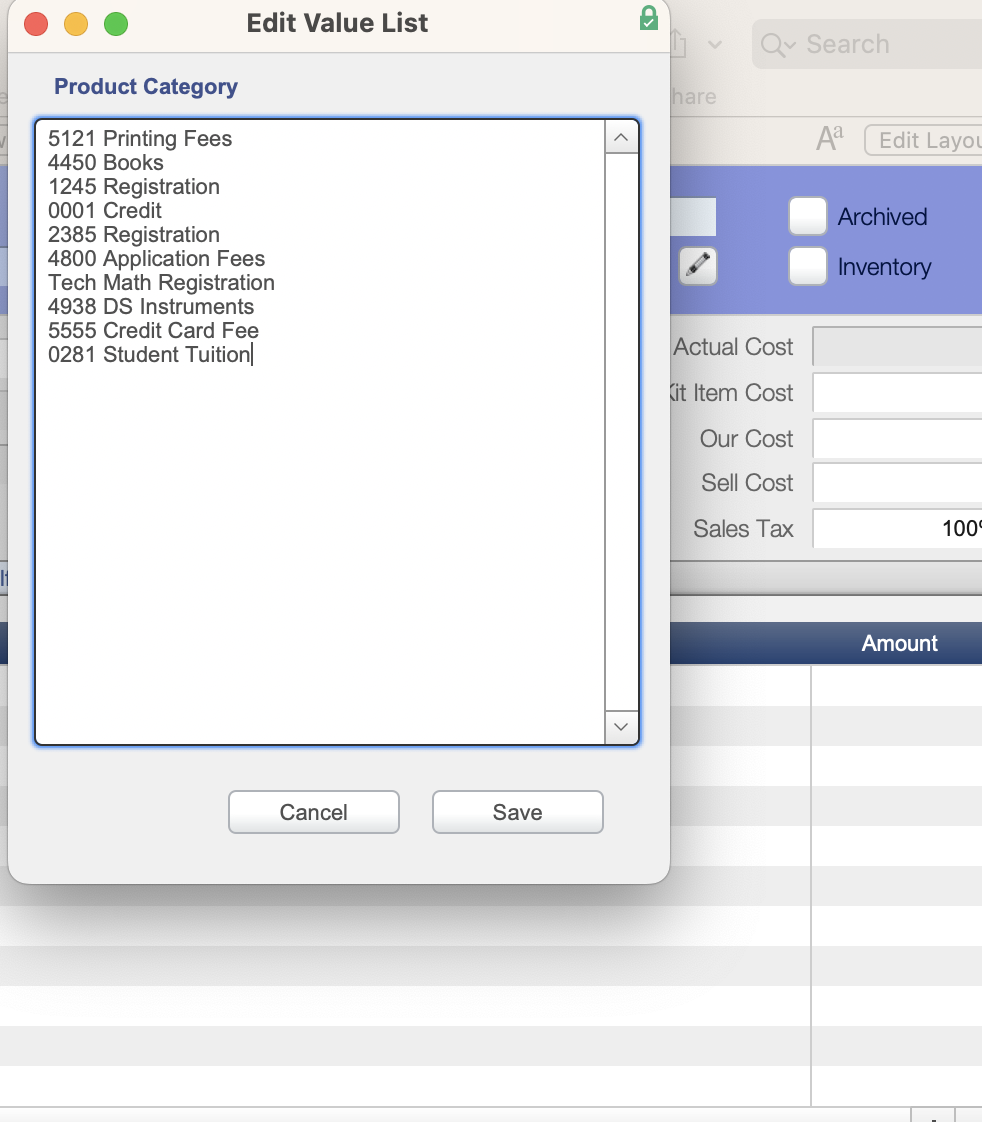
For this example, we used the category "Registration."
Add your cost in the boxes to the far right. Make sure to put the price into the "Sell Cost" field.
Lastly, exit this window. The product will save automatically.
To check that your cost item was created, you can do a quick search in the Sales module Products > Items tabs