

Create and Manage classes in TradeSchool's Training Module.
Create a New Class
To start, click the "New Class" button. This will get you started entering in a new class. Fill in the empty fields with Name, Type, Instructor, etc. It is a good idea to briefly describe the class in the description field.
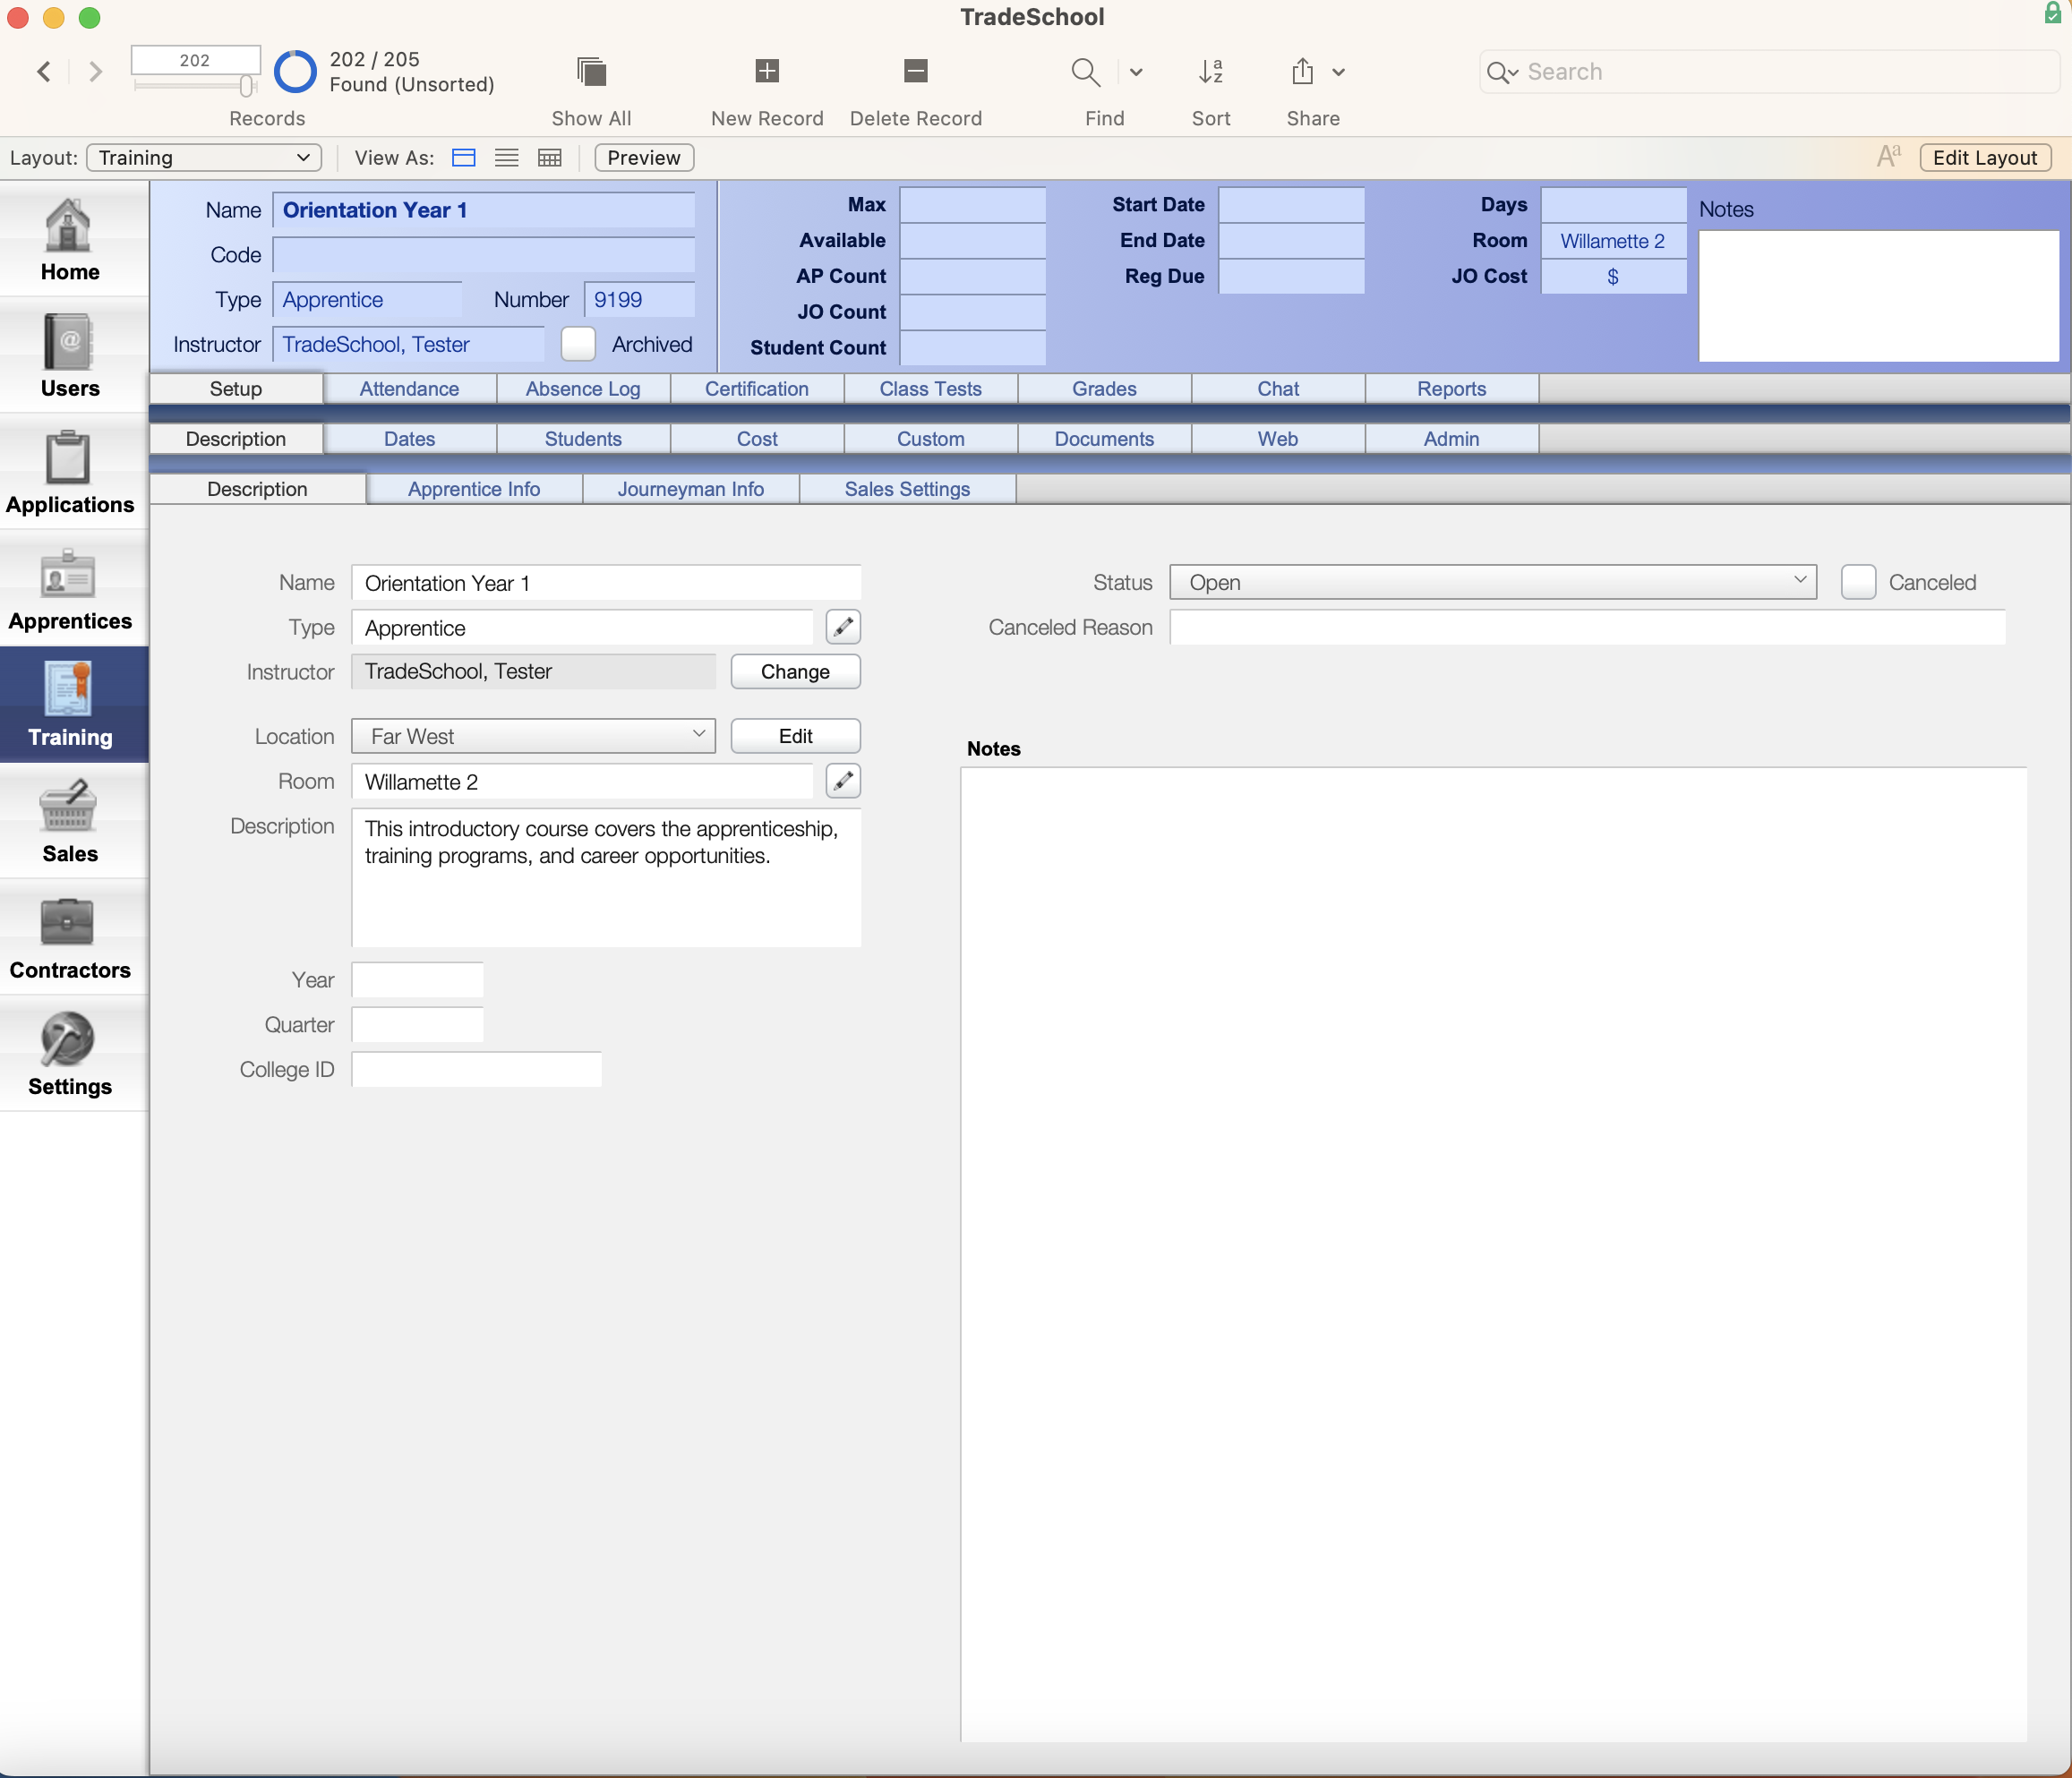
Under the Apprentice Info tab, you can set up details specific to Apprentice Classes. It is valuable to be specific when entering class type, term, and program. For classes you’d like to classify as important so that they are included in grade averages, etc. - make sure you set the Apprentice Type to “Required Term Class.” Alternatives to this type might be Safety classes, Labs, or other classes that wouldn’t be considered their “main” class.
Class Dates
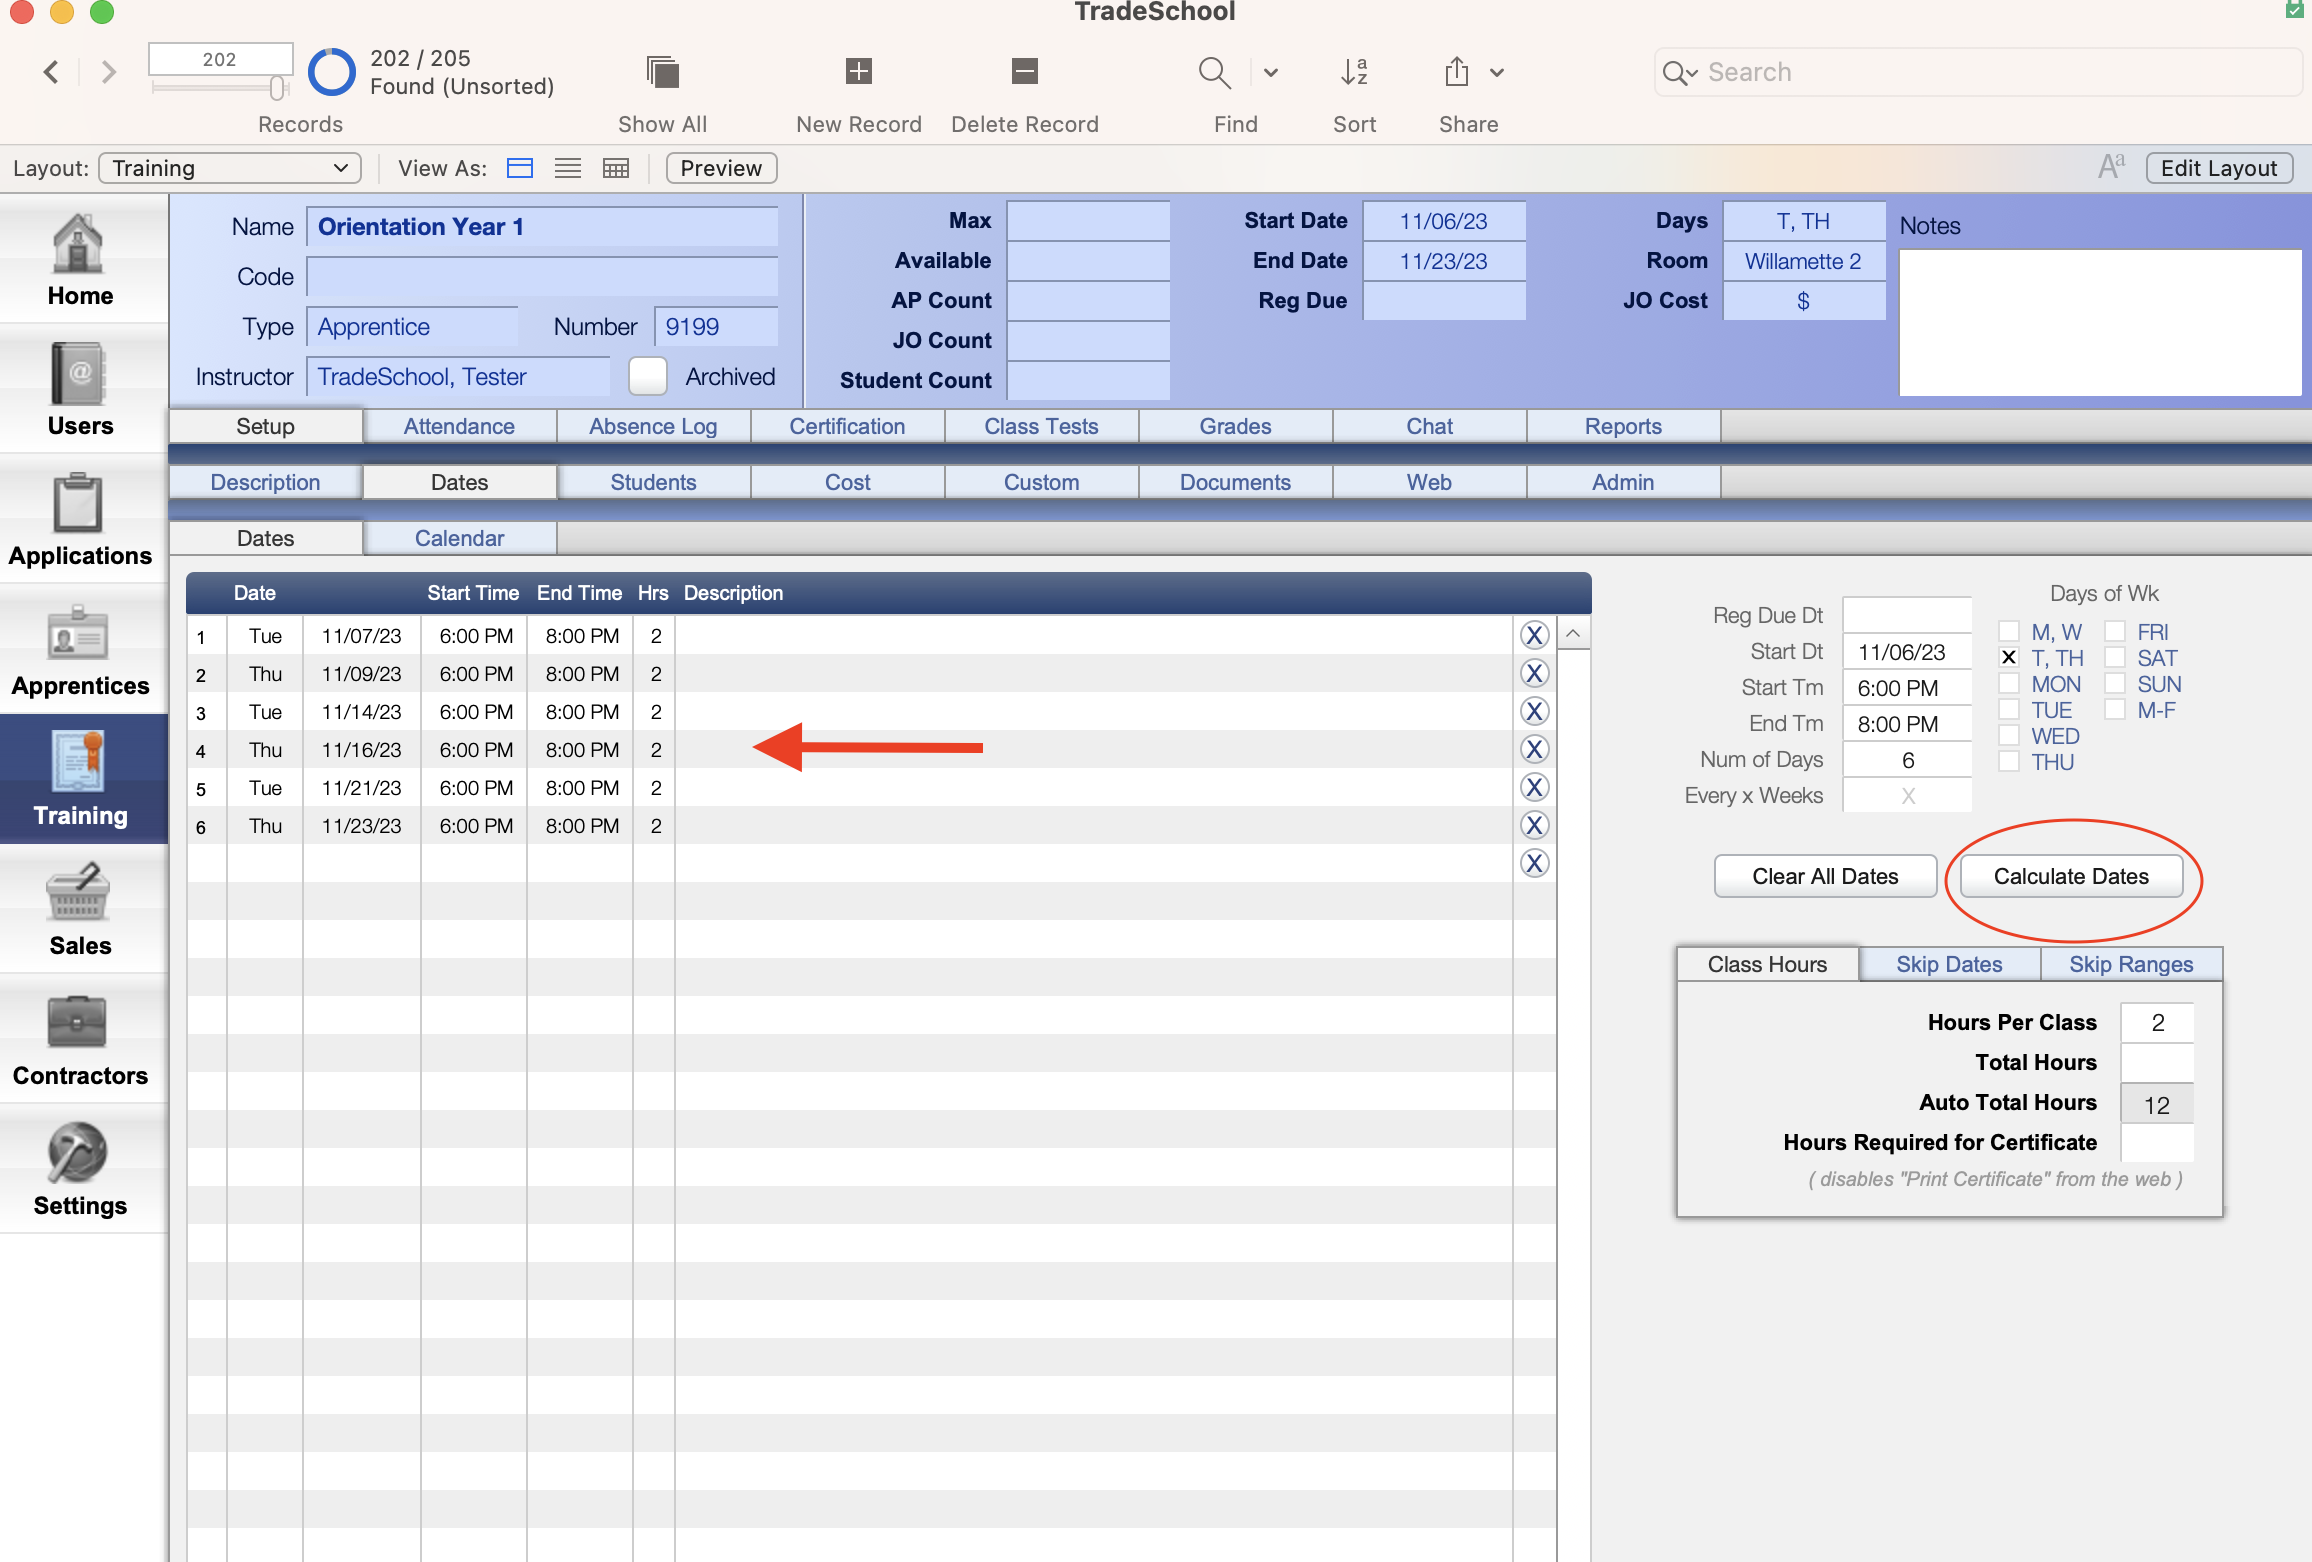
Entering class dates is an important step in setting up your class correctly.
Fill out the highlighted fields under the Setup > Dates tab:
- Enter the Start Date.
- Enter the Start/End time of the class (Be sure to enter in am/pm).
- Check the box for the Day(s) of the Week the class is on.
- Enter the Hours Per Class.
- Fill out any Skip Dates or Skip Ranges for holidays or breaks.
- Make sure to press the Calculate Dates button.
- All Class dates will then appear on the left in the table.
You can always edit dates in the list or under the Calendar tab.
Click the x to delete a date, or if you'd like to add a single date, click into the first empty row at the bottom to add a new date. It will automatically sort into the list.
Class Roster
-
Go to the next tab over to create your class roster, Setup > Students > Add Students
-
Look to the bottom right and set the Capacity for the class. Next, filter your student type.
Be sure to select apprentices from the list on the left. Only use the "Add" button for non-apprentice student types.
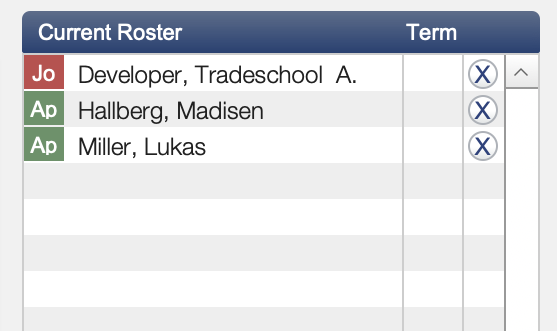
Next, in the Name field, start typing the student's name. It should appear below in the table. Click on the student's name and mark the select button on the far right. At the bottom, select the Add Students button. The student's name will appear on the right under the Current Roster section. Continuing by adding all students to the class.
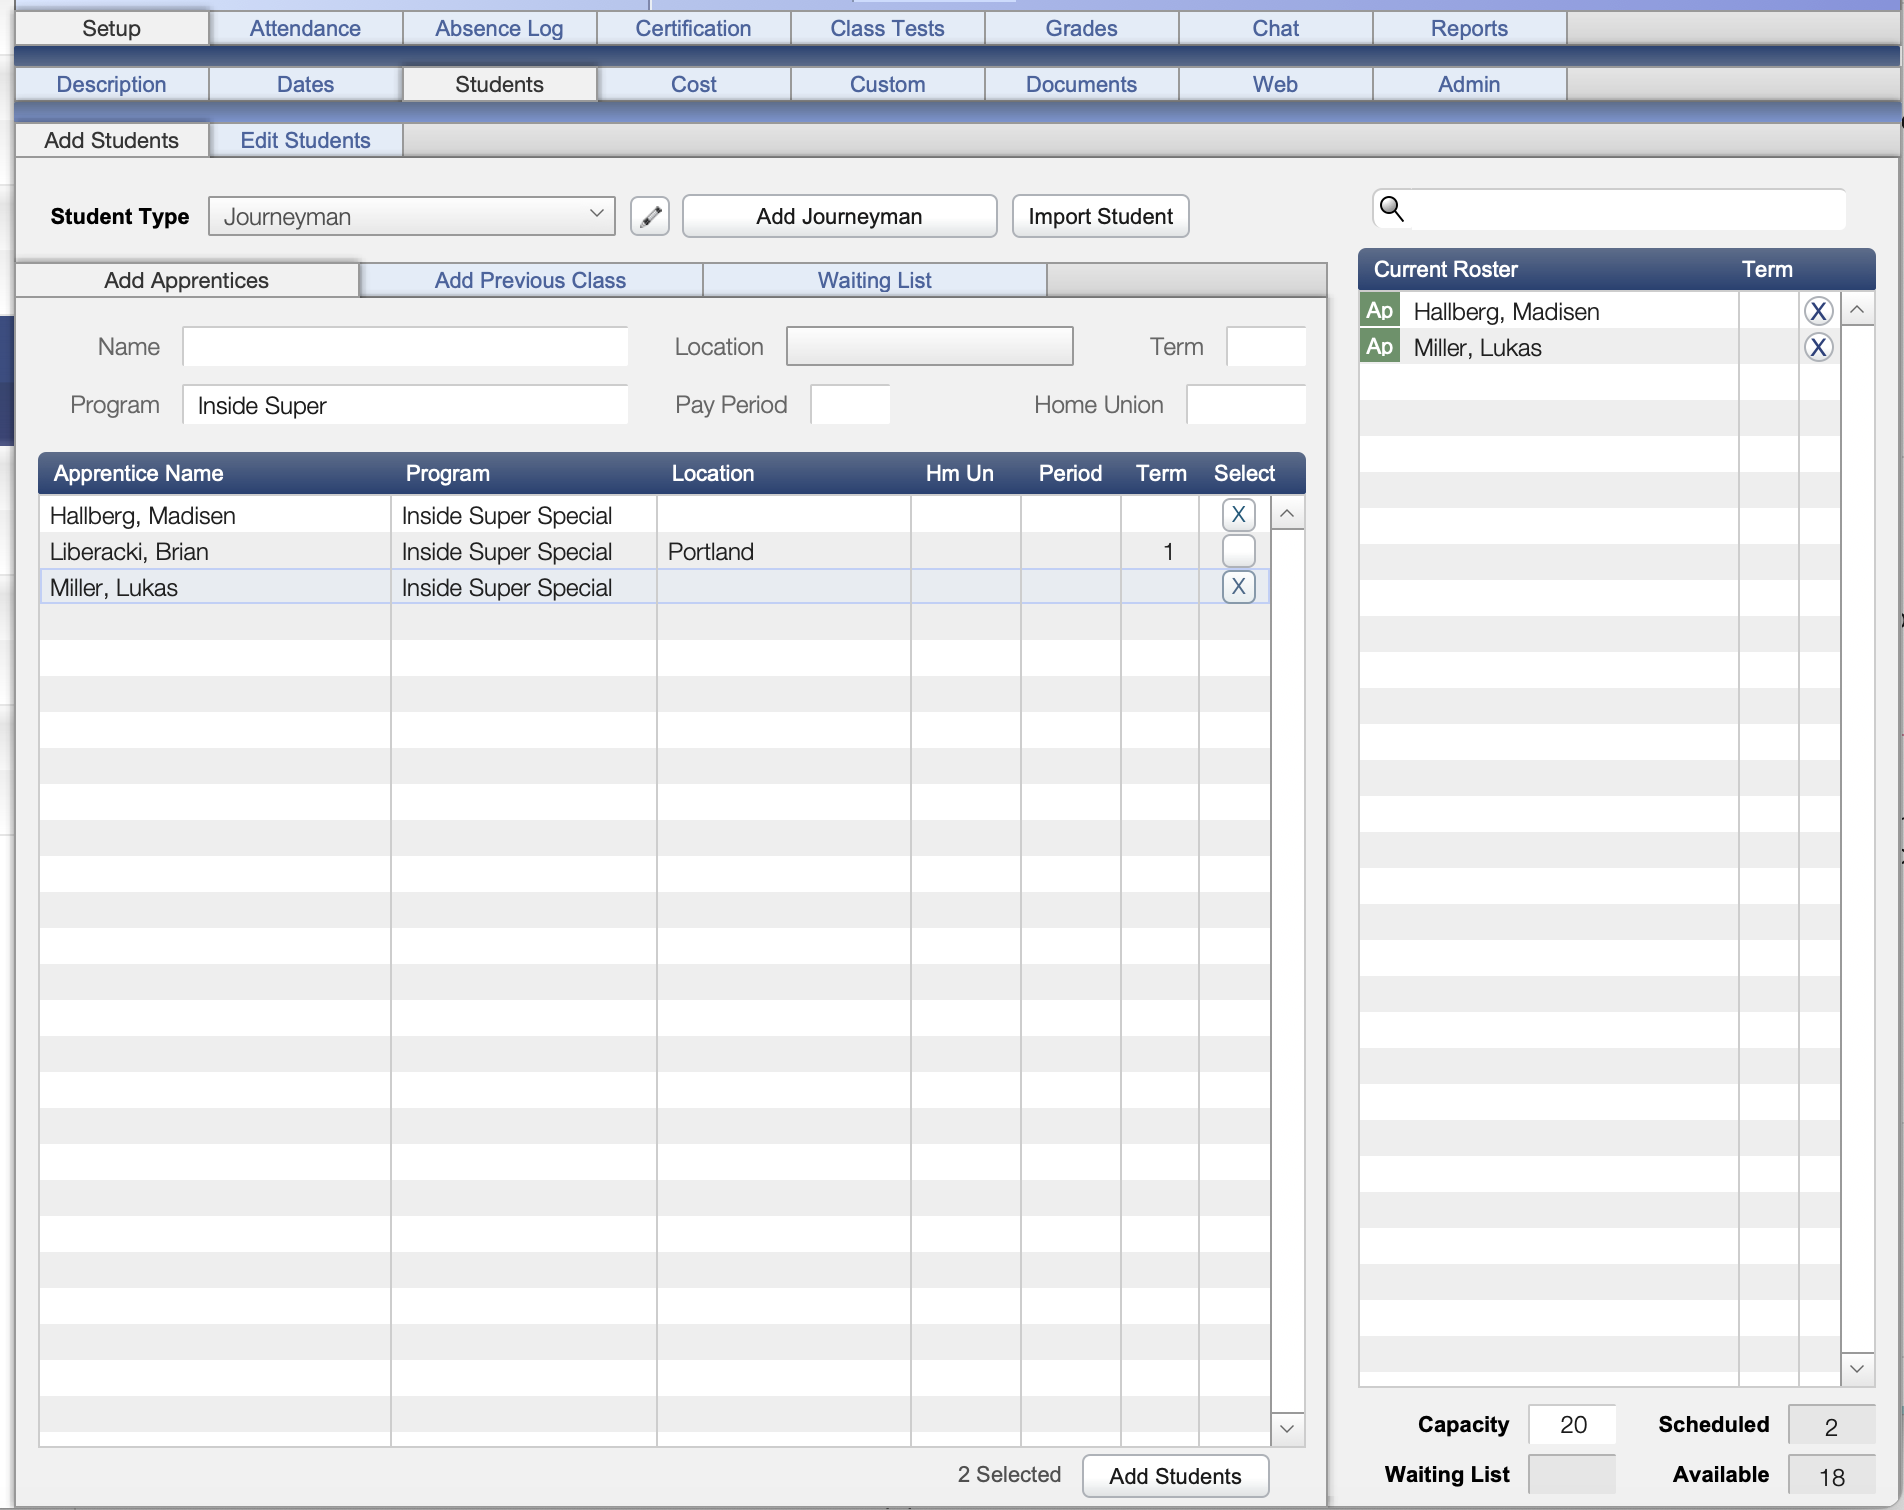
When adding a student who is a Journeyman or CW to the class, they need to be added to the class roster a different way.
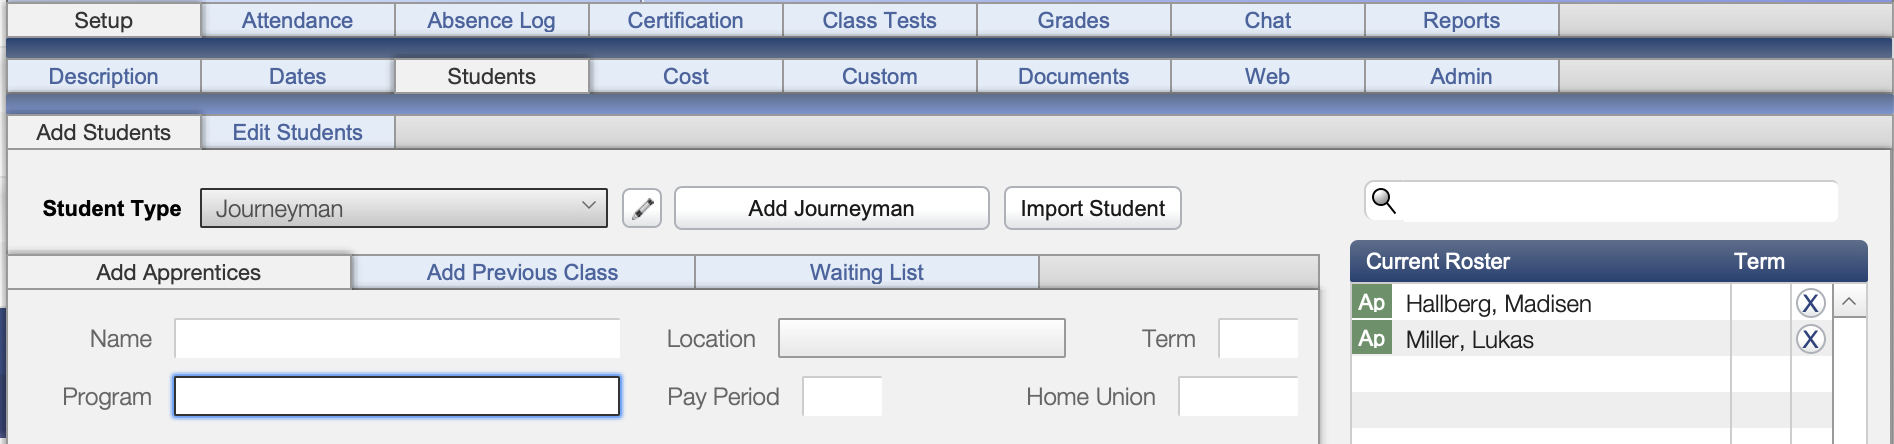
Under student type, choose Add Journeyman. Then click the Add Journeyman button. This will bring up a user picker where you can find the students by name and add them to the class roster. Note that apprentices will have a green AP next to their name, and Journeyman will have a red JO next to their name.
- Setup for Online Registration
- Setup Web Instructor Access